
Enrollments, rosters & attendance
Requires the Classes & Events module
Every offering’s page lists who has signed up — active enrollees and the waitlist — alongside its sessions. From there you can add and remove enrollees, approve people off the waitlist, export the roster, take per-session attendance, and message everyone at once. Click Classes & Events in the sidebar, then the offering’s name.
Add an enrollee
Section titled “Add an enrollee”- In the Enrollments section, click Add enrollee.
- Search for the Member. If they have family members, pick the Enrollee — the account holder or a family member. Ages are shown next to family members, with a warning when someone falls outside the offering’s age range.
- For paid offerings, choose a Payment option:
- Awaiting payment — enroll now; the member pays the fee themselves.
- Mark as paid — record a manual payment, like cash or check already collected.
- Comp (free) — waive the fee for this enrollee.
- Click Add enrollee.
If the offering is full, the person is added to the waitlist instead and no payment is collected — or check Force over capacity to enroll them anyway. Any enrollment questions appear on the form but are optional here; you can save without answers and collect them later.
How the offering waitlist works
Section titled “How the offering waitlist works”When a seat opens — an enrollee is removed or a claim expires — Memberley emails the first person on the waitlist a one-click claim link that’s valid for 24 hours. You can also promote someone yourself:
- Open the ⋯ menu on a waitlisted enrollment and click Approve enrollment….
- For paid offerings, pick a Payment option (Awaiting payment, Mark as paid, or Comp).
- Click Approve. If the offering is already full, a warning notes the person will be enrolled over capacity.
Remove an enrollee
Section titled “Remove an enrollee”- Open the enrollment’s ⋯ menu and click Remove.
- If they paid, a checkbox offers to Refund the amount via Stripe — uncheck it to handle the refund manually.
- Click Remove. The freed seat goes to the next person on the waitlist.
Export the roster
Section titled “Export the roster”Click Download above the enrollments table and choose Roster as CSV or Roster as PDF. The CSV includes each enrollee’s name, email, phone, status, and waitlist position, plus a column per enrollment question — including questions you’ve since removed, so historical answers aren’t lost. Answers to fields marked sensitive are left out of the export.
Take attendance
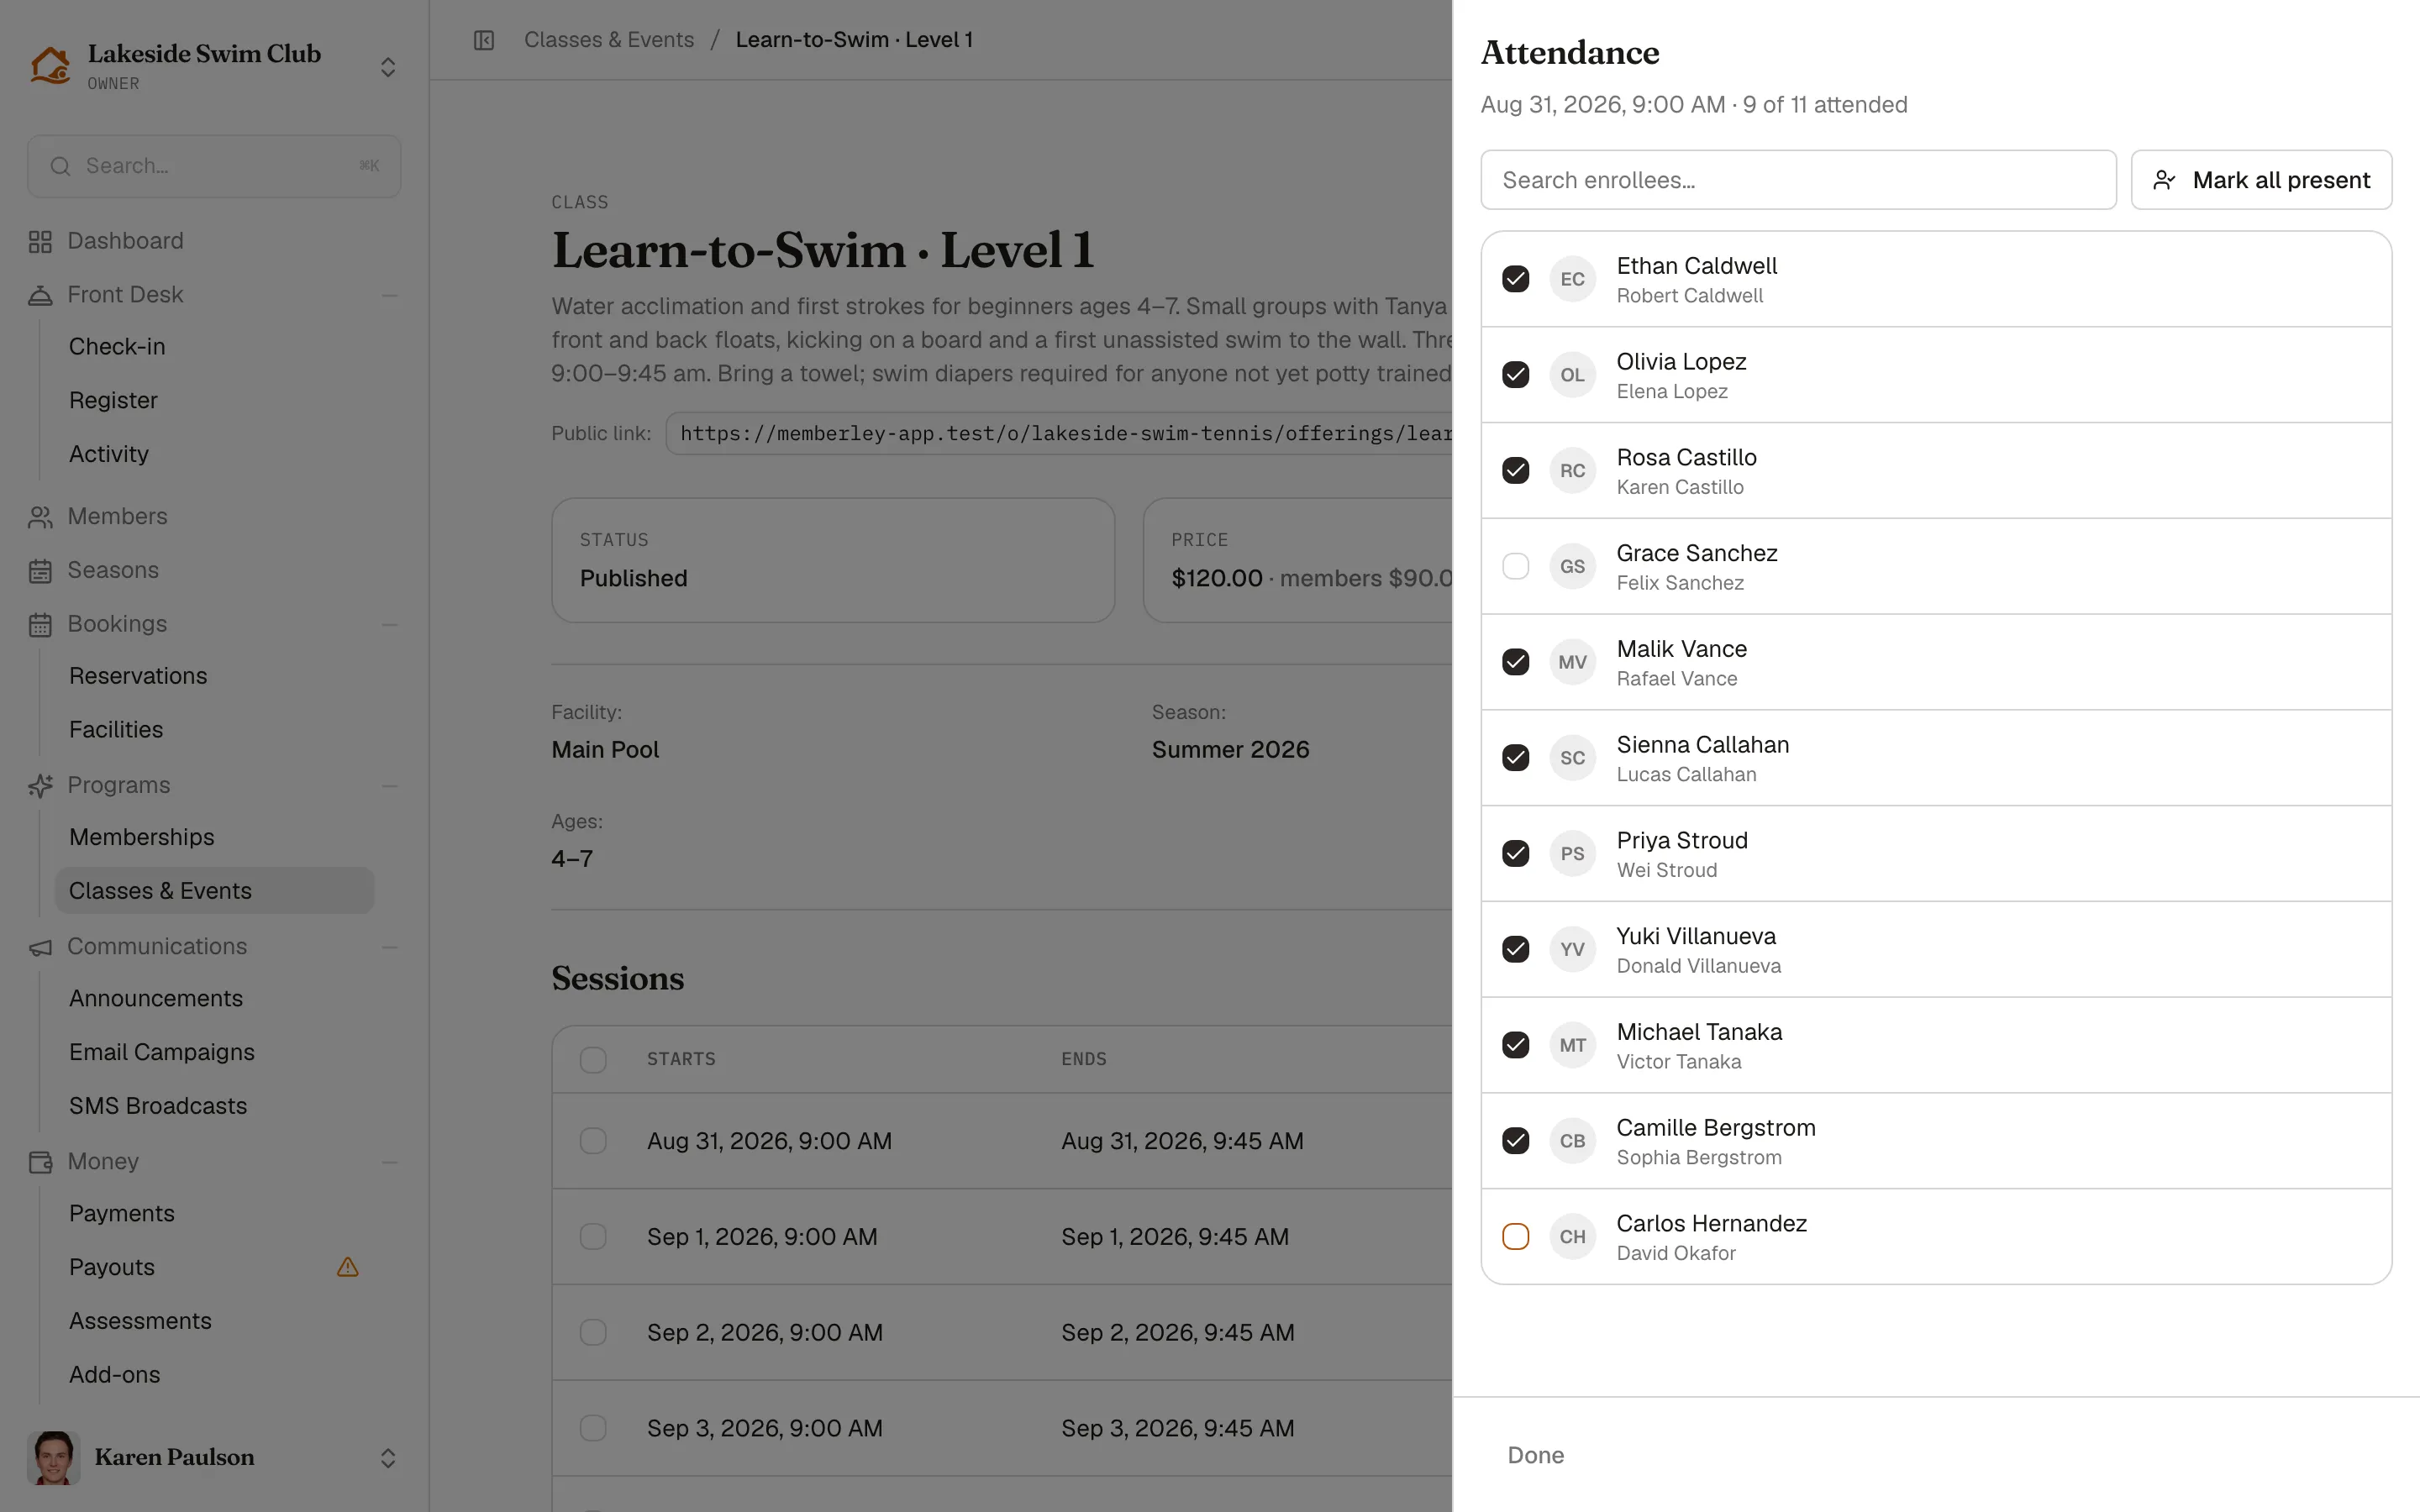
Section titled “Take attendance”Attendance is available when Track attendance is enabled on the offering (in the Edit drawer). Each session row then shows an attendance count:
- Click the count in the session’s Attendance column, or choose Take attendance from the session’s ⋯ menu.
- Tick the checkbox next to each person present — ticks save instantly.
- Use Mark all present to check everyone, and the search box to find someone on a long roster.
Message everyone in a program
Section titled “Message everyone in a program”- Click Send an announcement at the top of the offering page.
- Write a Subject and Message — Markdown is supported in the body.
- Pick an Audience:
- Enrolled (active) — members with an active enrollment.
- Waitlisted — members currently on the waitlist.
- Enrolled + waitlisted — all current enrollees.
- All active members — everyone with an active membership.
- Everyone in the organization — all users with any role.
- Choose Send via Email and/or SMS (SMS requires it to be enabled for your organization), then click Send.
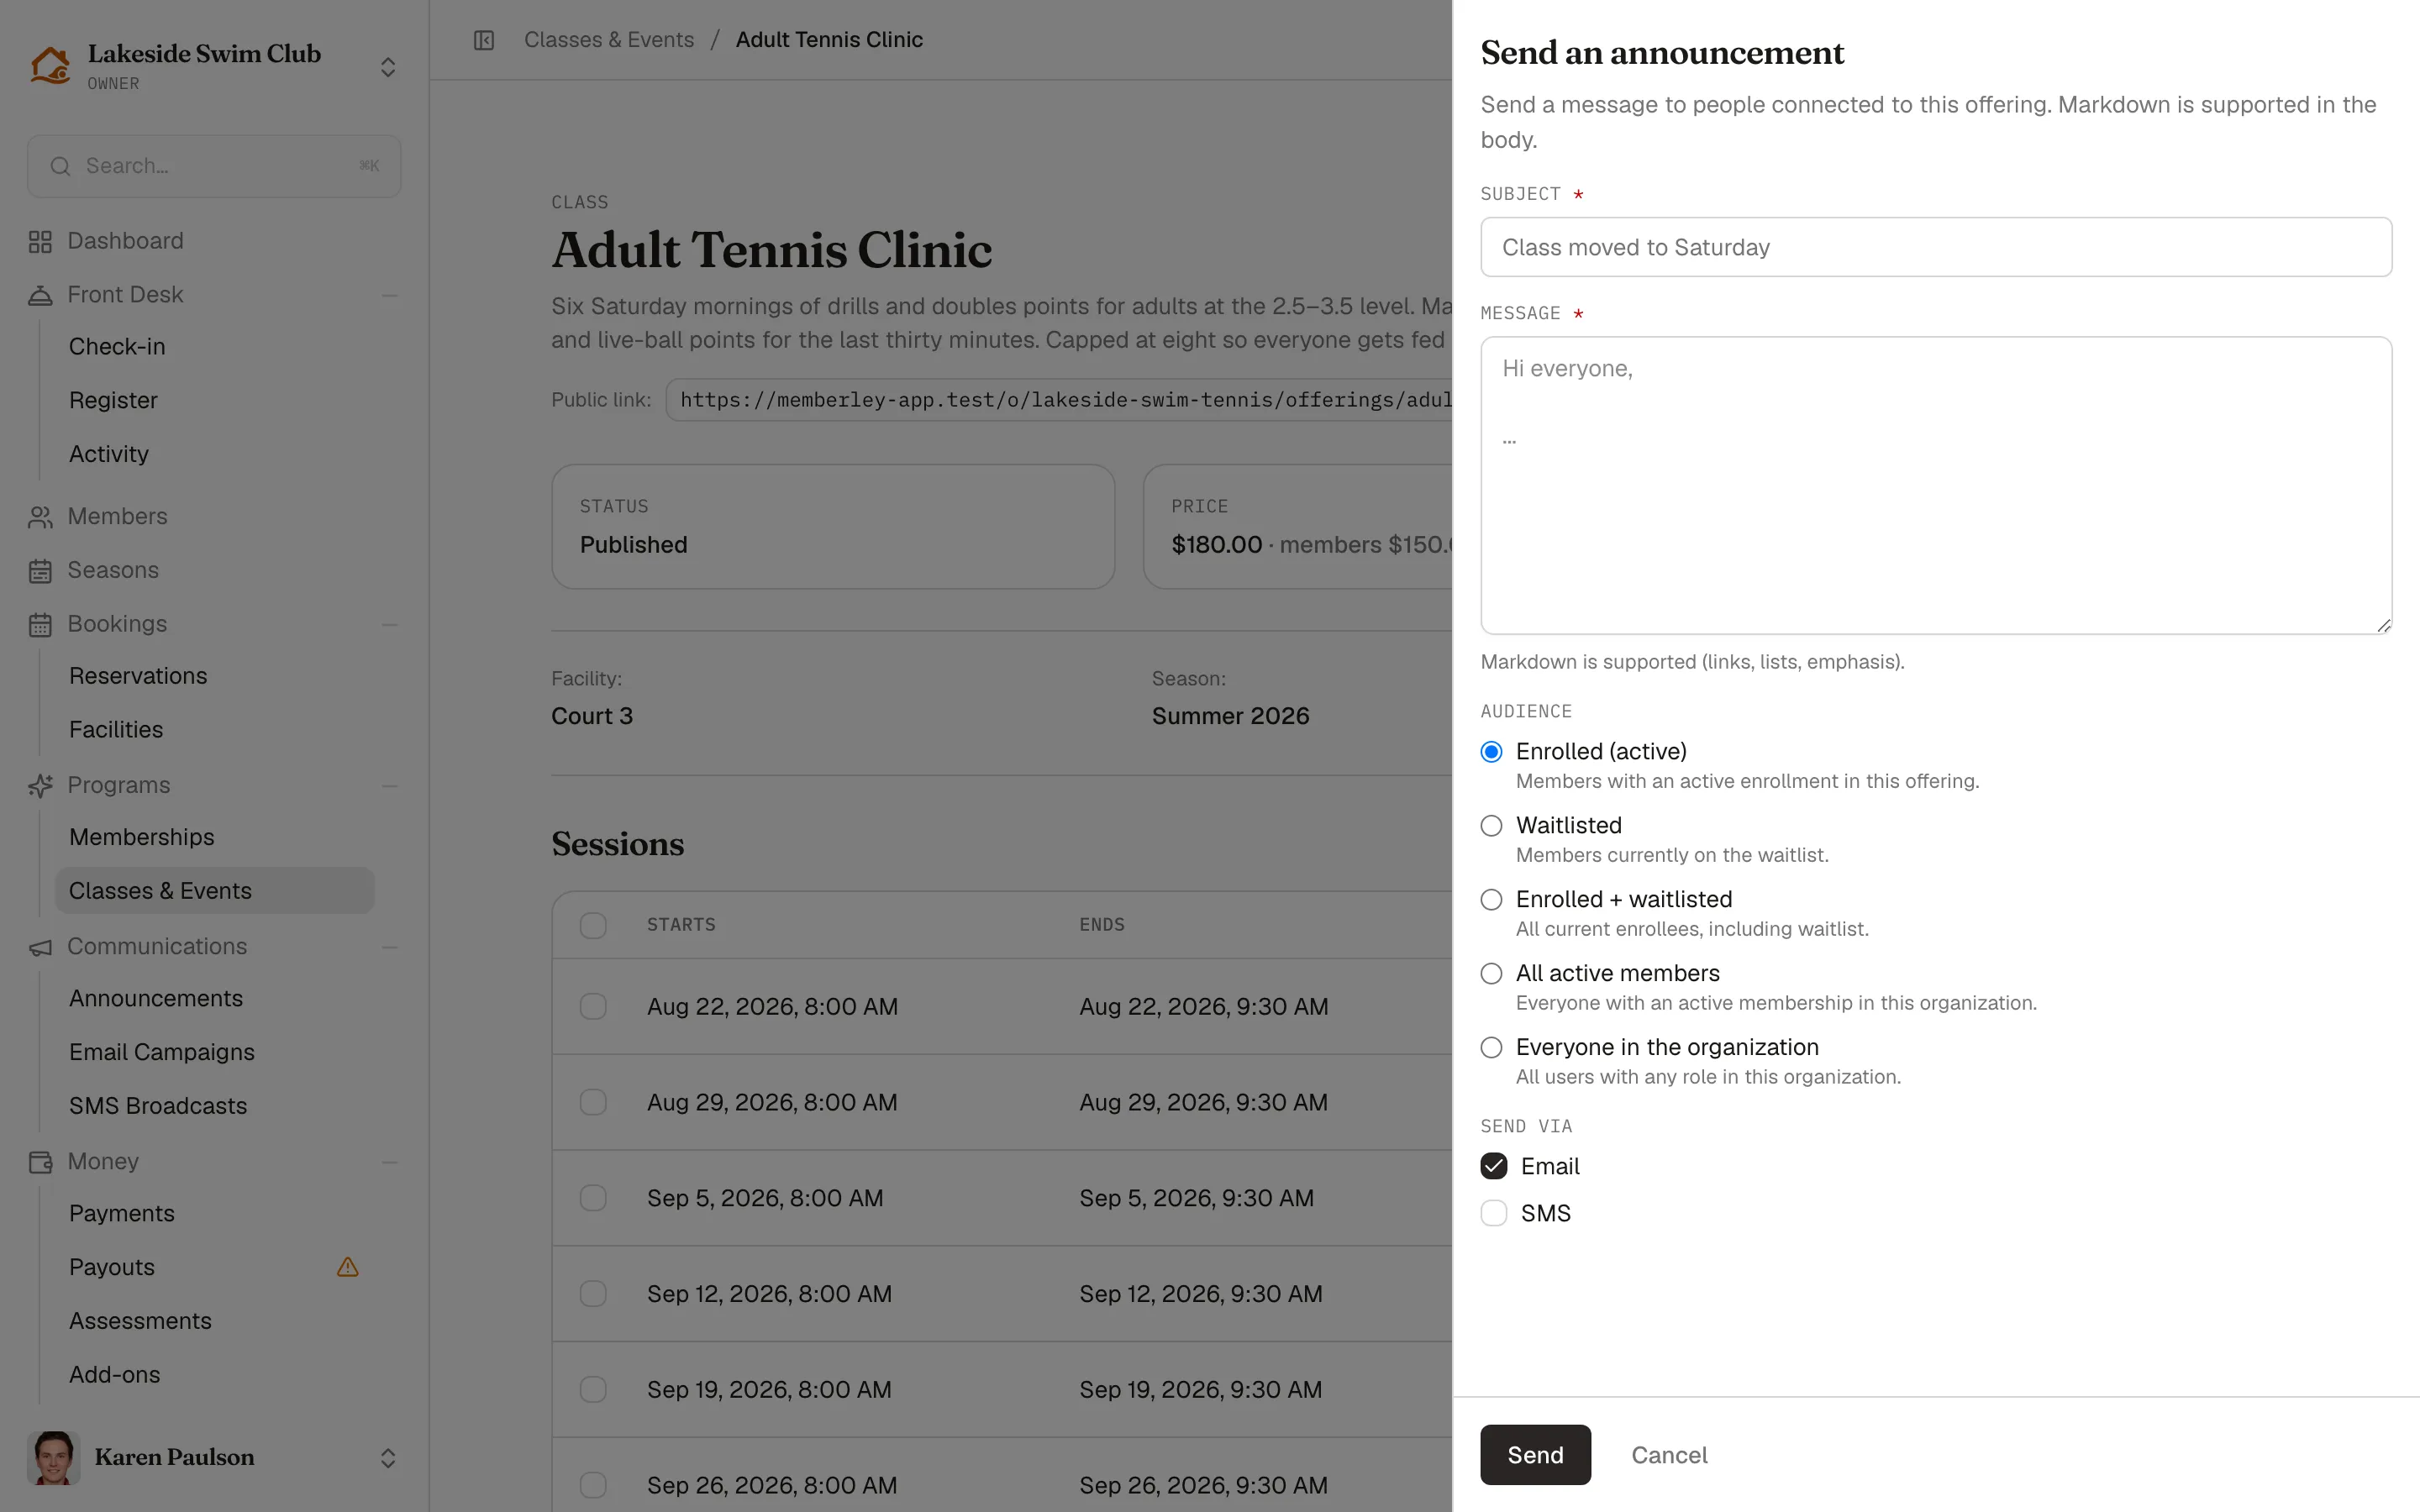
Sent messages appear under Past announcements with their audience, channels, and recipient count. Announcements are unavailable while the offering is archived or cancelled.
Ask questions at enrollment
Section titled “Ask questions at enrollment”Enrollment questions collect extra details — shirt size, skill level, allergies — when someone signs up. Answers stay with the enrollment, not the member’s profile.
- In the Enrollment questions section, click Manage questions.
- Under Add a question, choose one of your organization’s custom fields.
- For each question, optionally check Required to enroll and set a Label override to reword it for this offering. Reorder with the arrows or remove questions you no longer need.
- Click Save questions.
Owners can also click New field to quick-create a field for this offering only — it won’t appear on member profiles or registration unless you add those surfaces later under Settings → Custom Fields. To read what someone answered, open their enrollment’s ⋯ menu and click View answers.