
Set up your organization
Before you invite a single member, give Memberley the basics: who you are, where money should go, and what memberships you sell. This page walks the first group of the dashboard’s setup checklist — verify your email, add contact details, connect Stripe, create a season, and customize your tiers.
Set aside about half an hour, and have two things to hand before you start: your organization’s bank account details and tax ID for Stripe onboarding, and a rough idea of the memberships you sell and what they cost.
Follow the checklist
Section titled “Follow the checklist”The dashboard’s Finish setting up your organization card tracks every step in this guide and links straight to each one, counting off how many steps you’ve completed. Dismiss it any time with the × — a small “setup tasks remaining” pill takes its place, and clicking Show brings the card back. It disappears for good once every step is done.
Verify your email
Section titled “Verify your email”If you haven’t already, click Verify on the checklist’s first step and follow the link Memberley emails you. Account notifications — and everything else in this guide — depend on a working owner email address.
Add your contact details
Section titled “Add your contact details”- Click Settings in the sidebar, then Organization.
- Under Details, confirm your Organization name, Phone, Website, and address. Members see these when they need to reach you.
- Set your Timezone. Every schedule in Memberley — reservations, class sessions, reports, reminders — displays in this timezone, so set it before you build anything time-based.
- Click Save changes.
The rest of this tab (operations settings, business hours, and more) is covered in Organization settings.
Connect Stripe
Section titled “Connect Stripe”Memberley collects dues, reservation fees, and other charges through Stripe, and deposits them straight to your bank account.
- Click Money in the sidebar, then Payouts.
- Click Connect with Stripe.
- Complete Stripe’s onboarding — business details, bank account, and identity verification — right on the page.
Until onboarding is complete, the sidebar’s Payouts entry shows a “Connect Stripe to accept payments” hint. Once connected, collected payments flow to your bank on Stripe’s payout schedule, and the same page tracks them — see Payouts.
Stripe may need documents it can’t verify instantly, so the account can sit in a Limited state for a while — that’s normal, and the Stripe account card on the Payouts page names whatever is still outstanding. You can keep setting up the rest of this guide meanwhile; only charging members actually waits on Stripe.
Create a season
Section titled “Create a season”If your club runs in seasons, create the season before shaping tiers — tiers you create next can then be scoped to it from the start:
- Click Seasons in the sidebar, then New season.
- Set the season’s name and dates, and click Create season.
Year-round club? Skip this step — members join your tiers directly, each on its own duration. The full lifecycle — phases, cloning, renewals — is covered in How seasons work.
Customize your membership tiers
Section titled “Customize your membership tiers”Every organization starts with a default Basic tier. Shape your real lineup before members can pick one:
- Click Membership Tiers in the sidebar.
- Edit the default tier, or click New membership tier to add your own — Individual, Couple, and Family are a common trio.
- Set each tier’s pricing, capacity, and renewal rules.
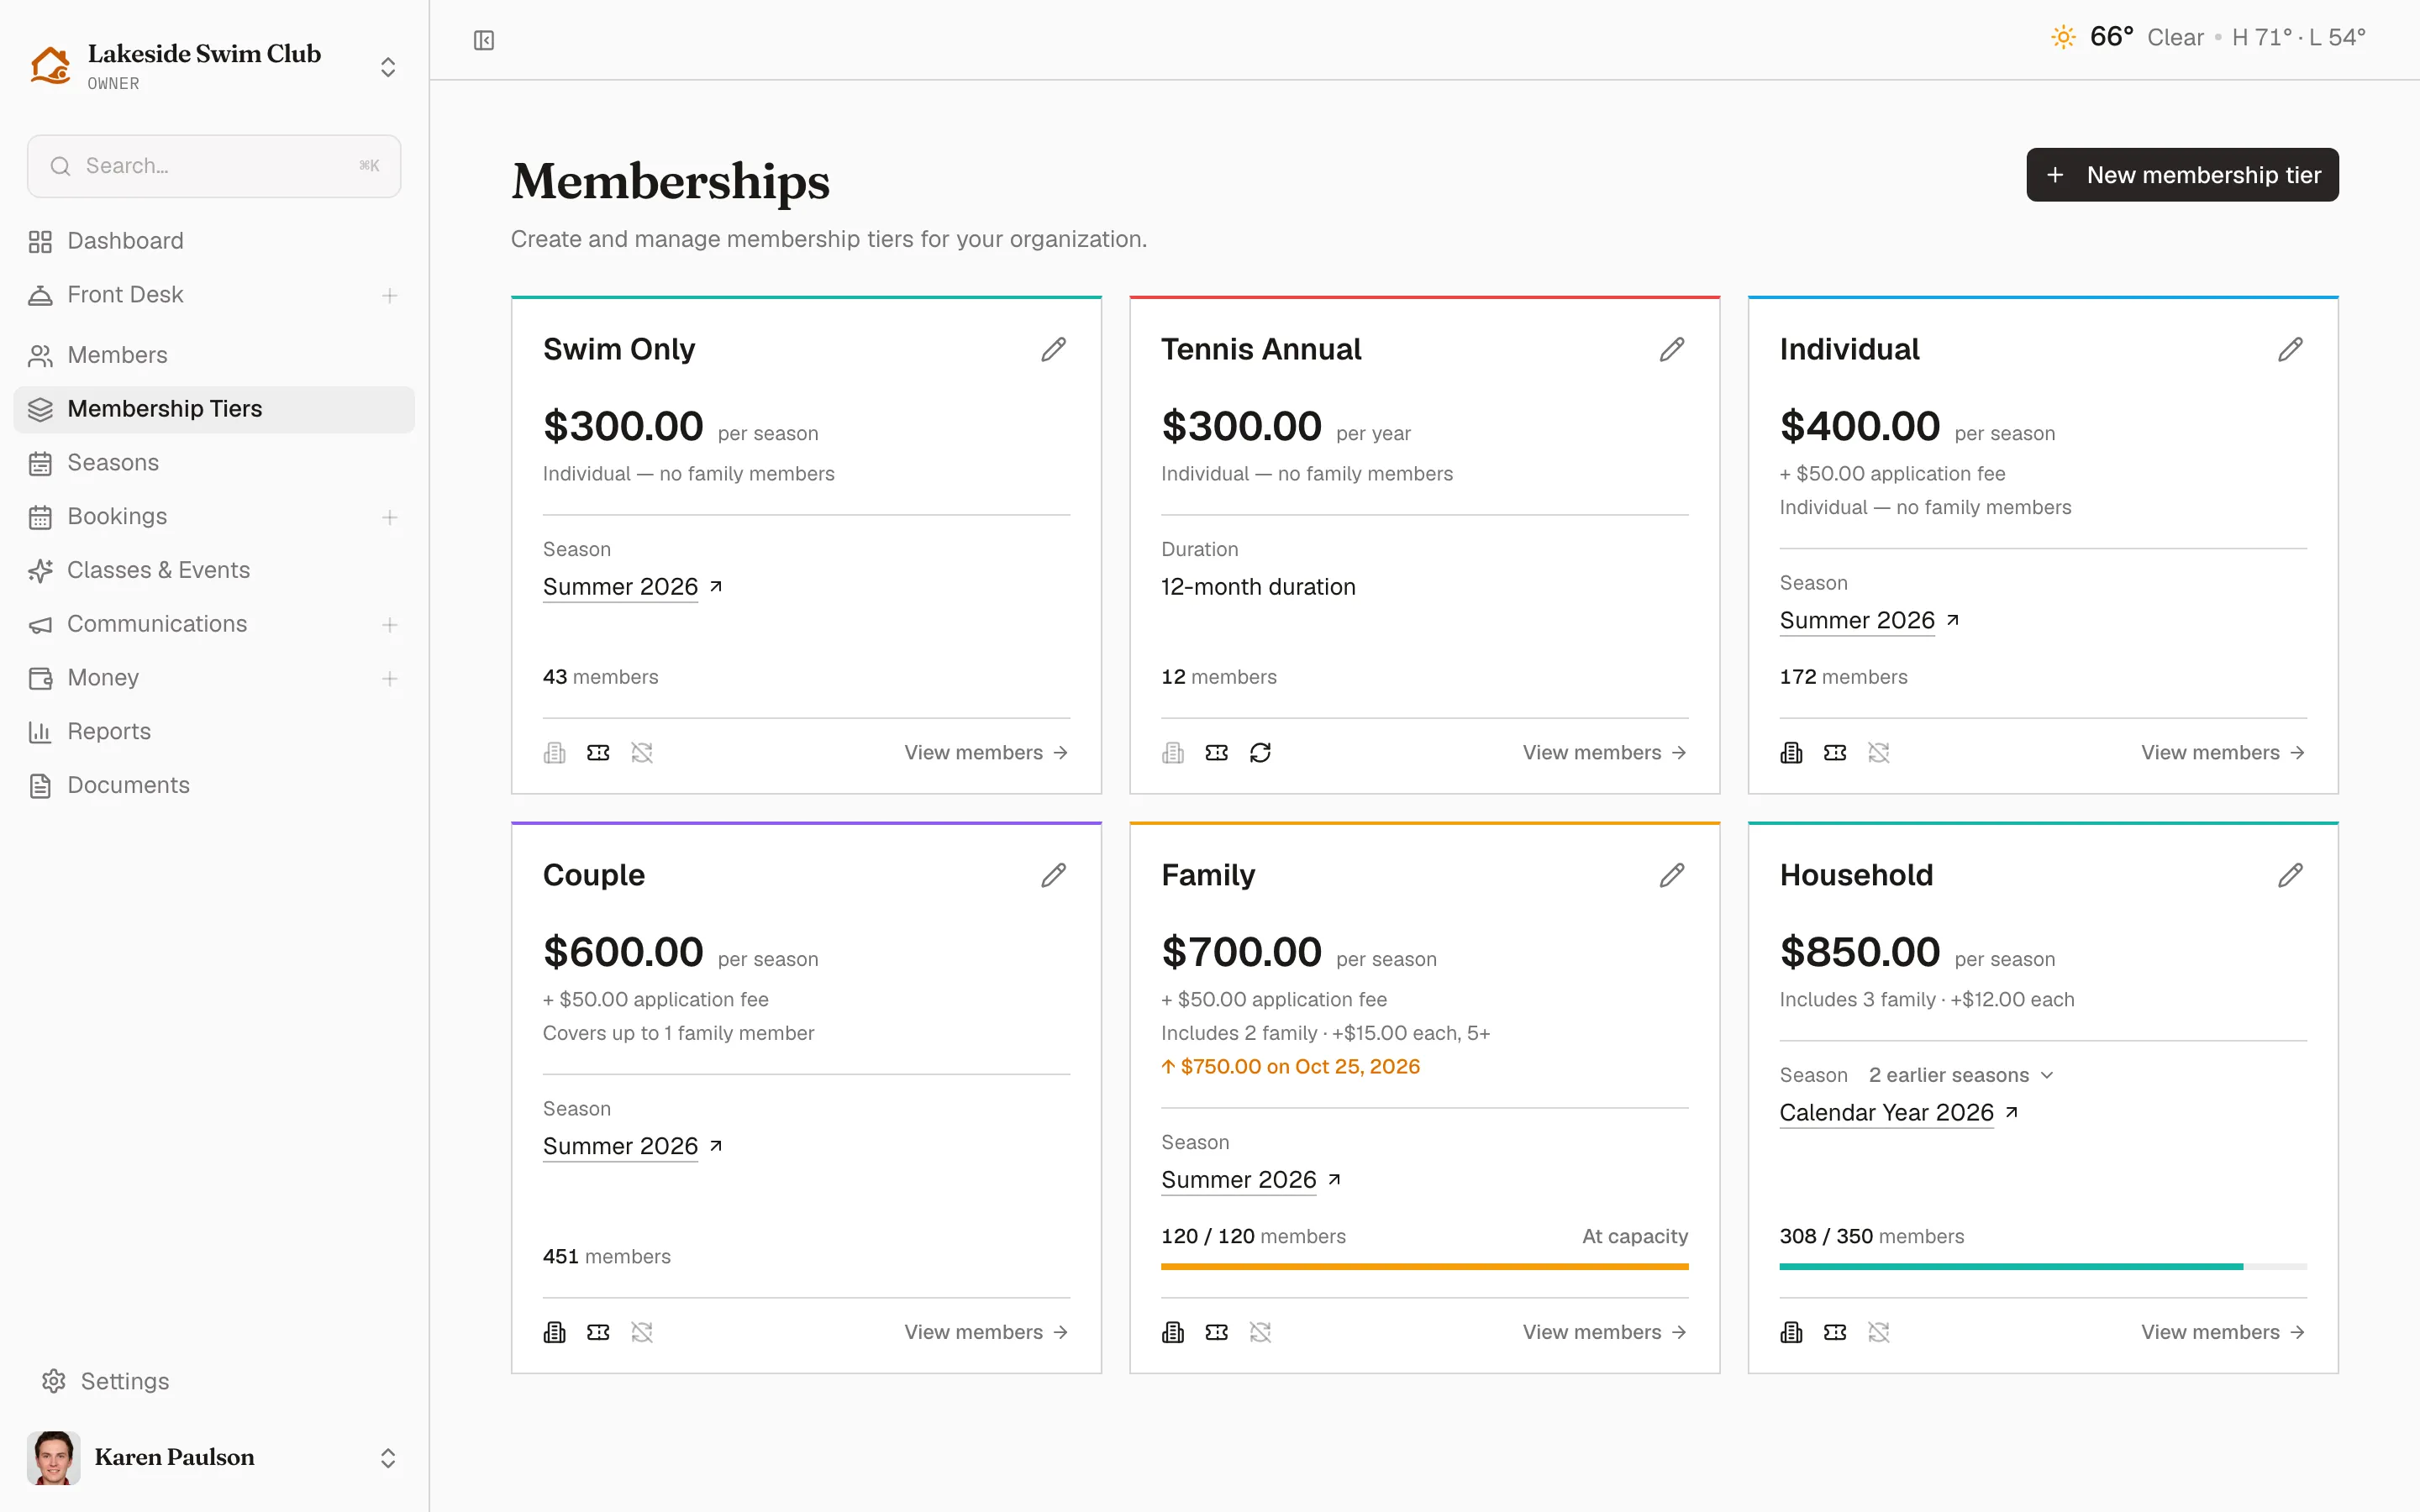
The full options — dues, duration, autopay, guest passes, and capacity — are covered in Membership tiers. If you created a season, new tiers can be scoped to it from the form’s Schedule control, or toggled later from the season page — see Creating & cloning seasons.
Related
Section titled “Related”- Build your offerings — the next step in this guide.
- Organization settings
- Payouts
- Membership tiers