
Classes & events
Requires the Classes & Events module
Classes and events — called offerings — let you run swim lessons, clinics, and social events with their own sessions, pricing, capacity, and online registration. A class and an event work the same way; the type is a label that helps you filter the list.
Create an offering
Section titled “Create an offering”-
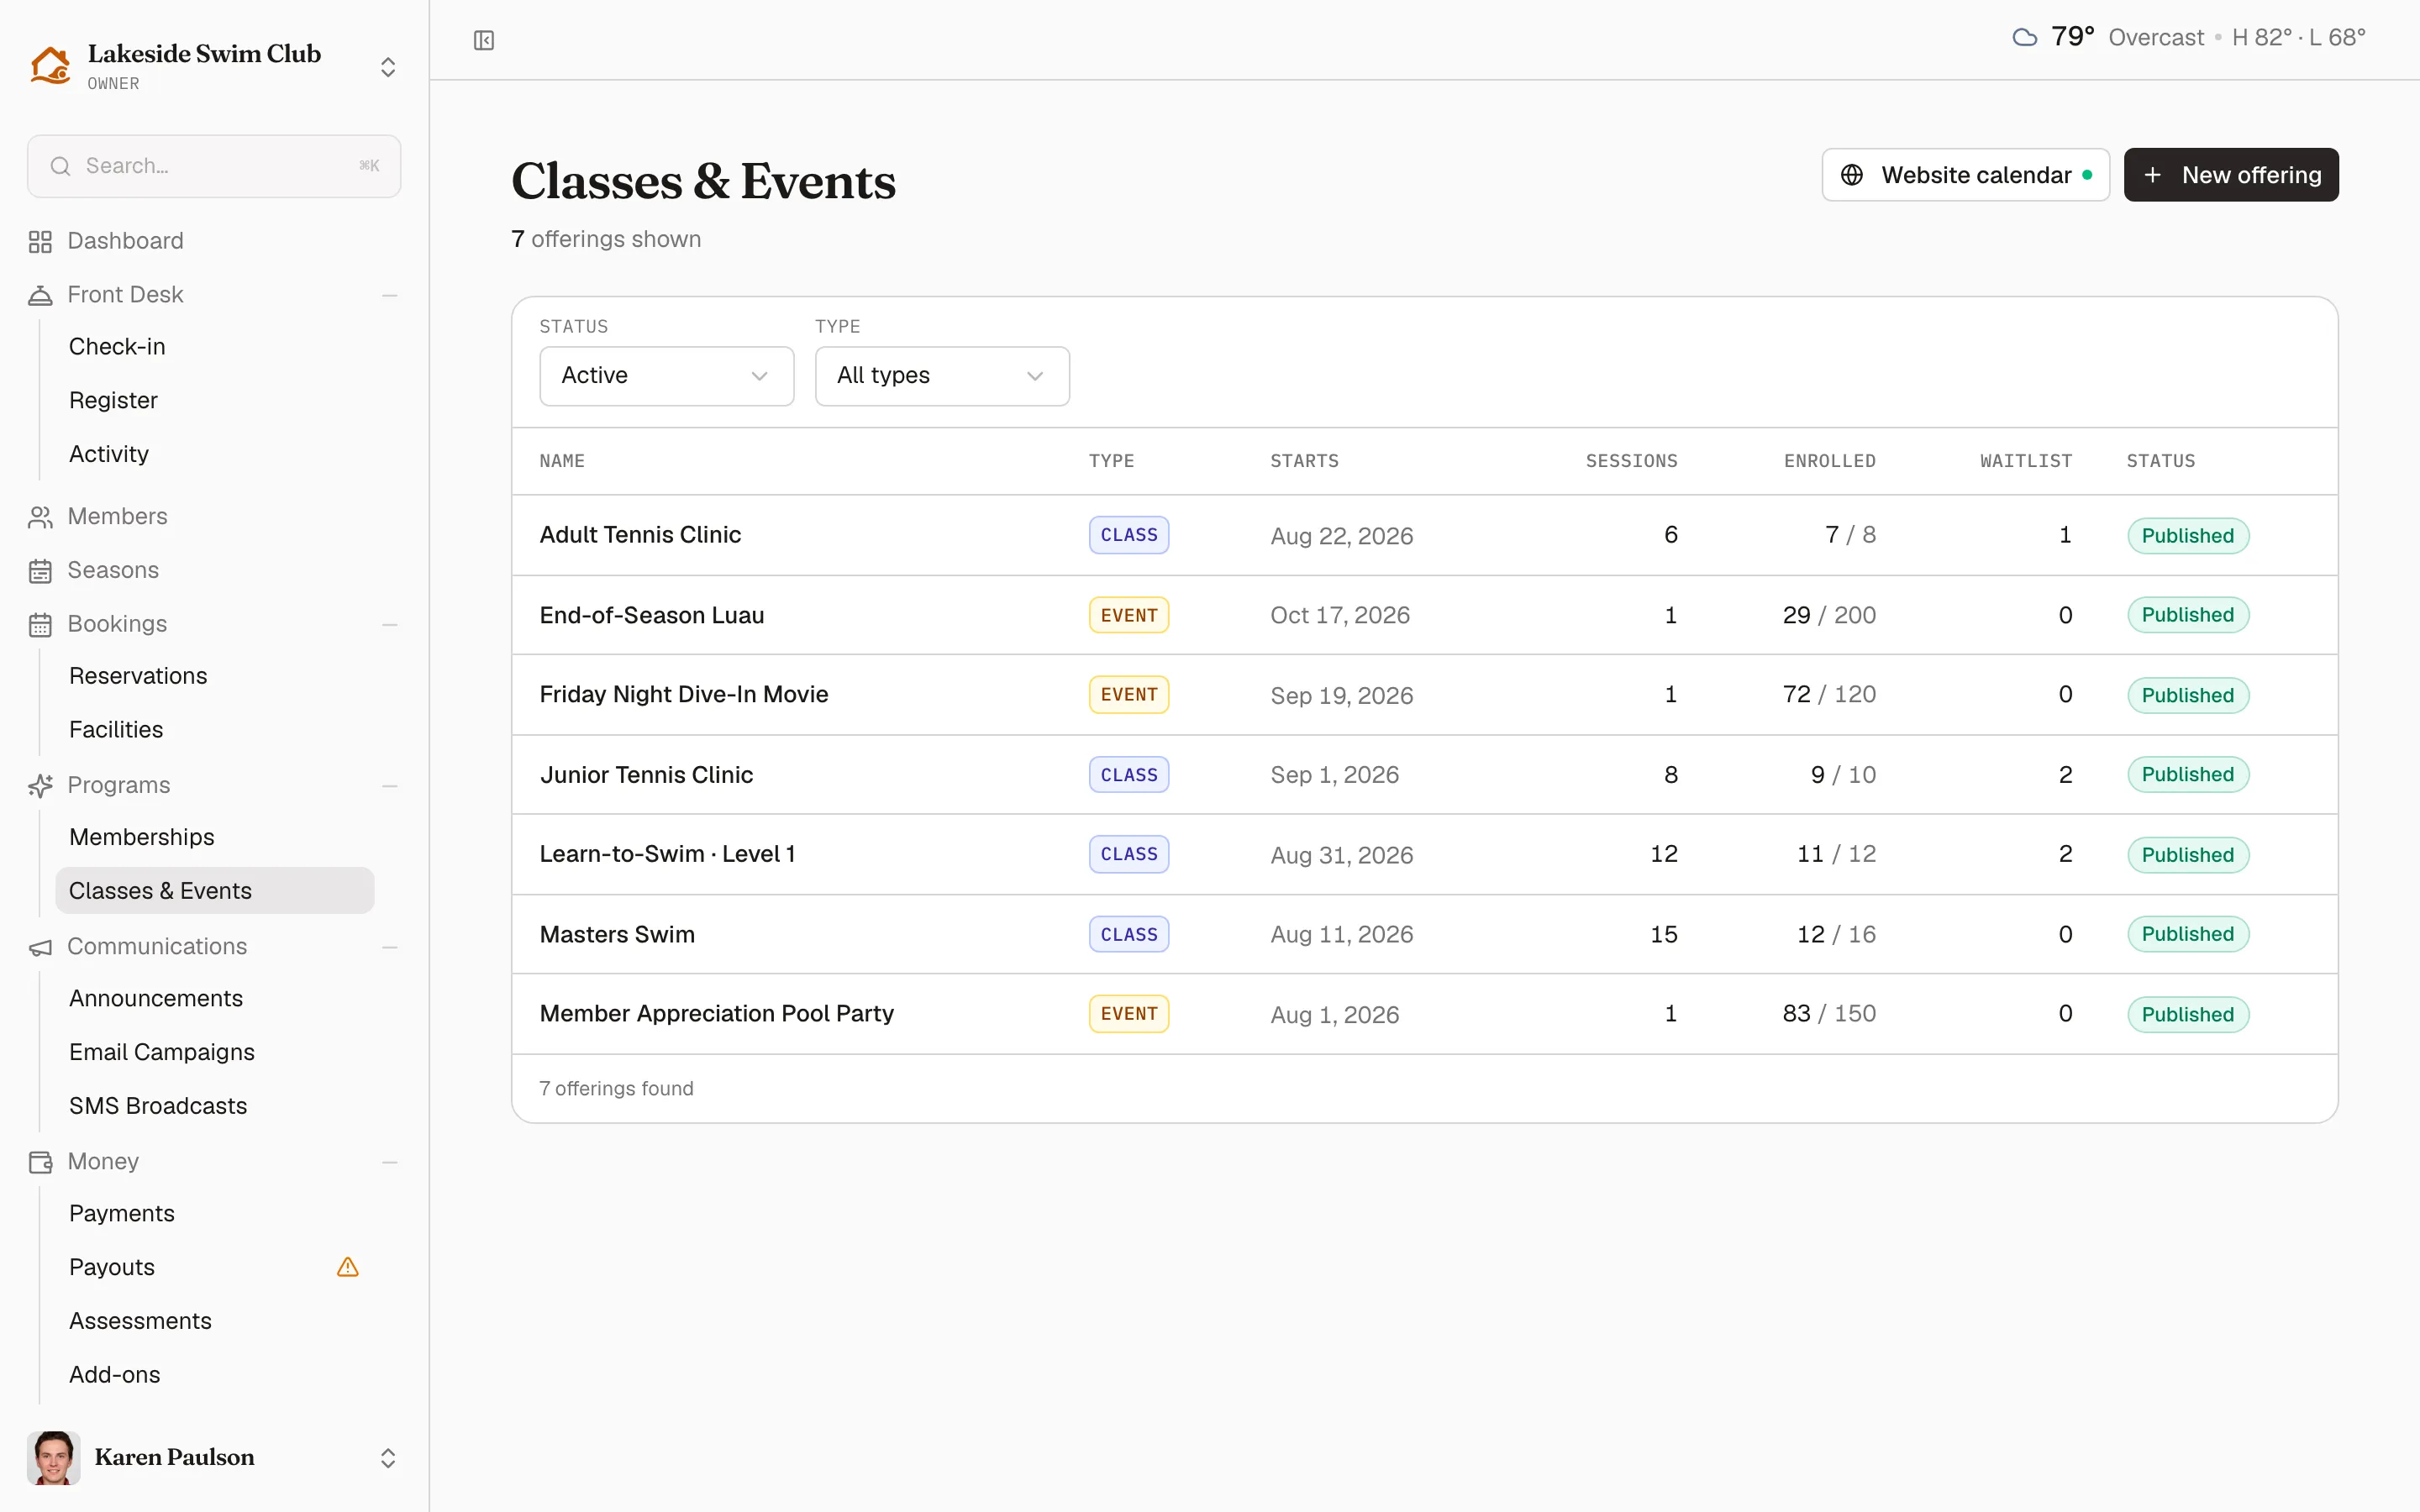
Click Classes & Events in the sidebar.
-
Click New offering.
-
Give it a Name and pick a Type (Class or Event), and optionally a Description.
-
Set pricing and limits (all described below), and optionally a Facility, Season, and Instructor.
-
Click Create.
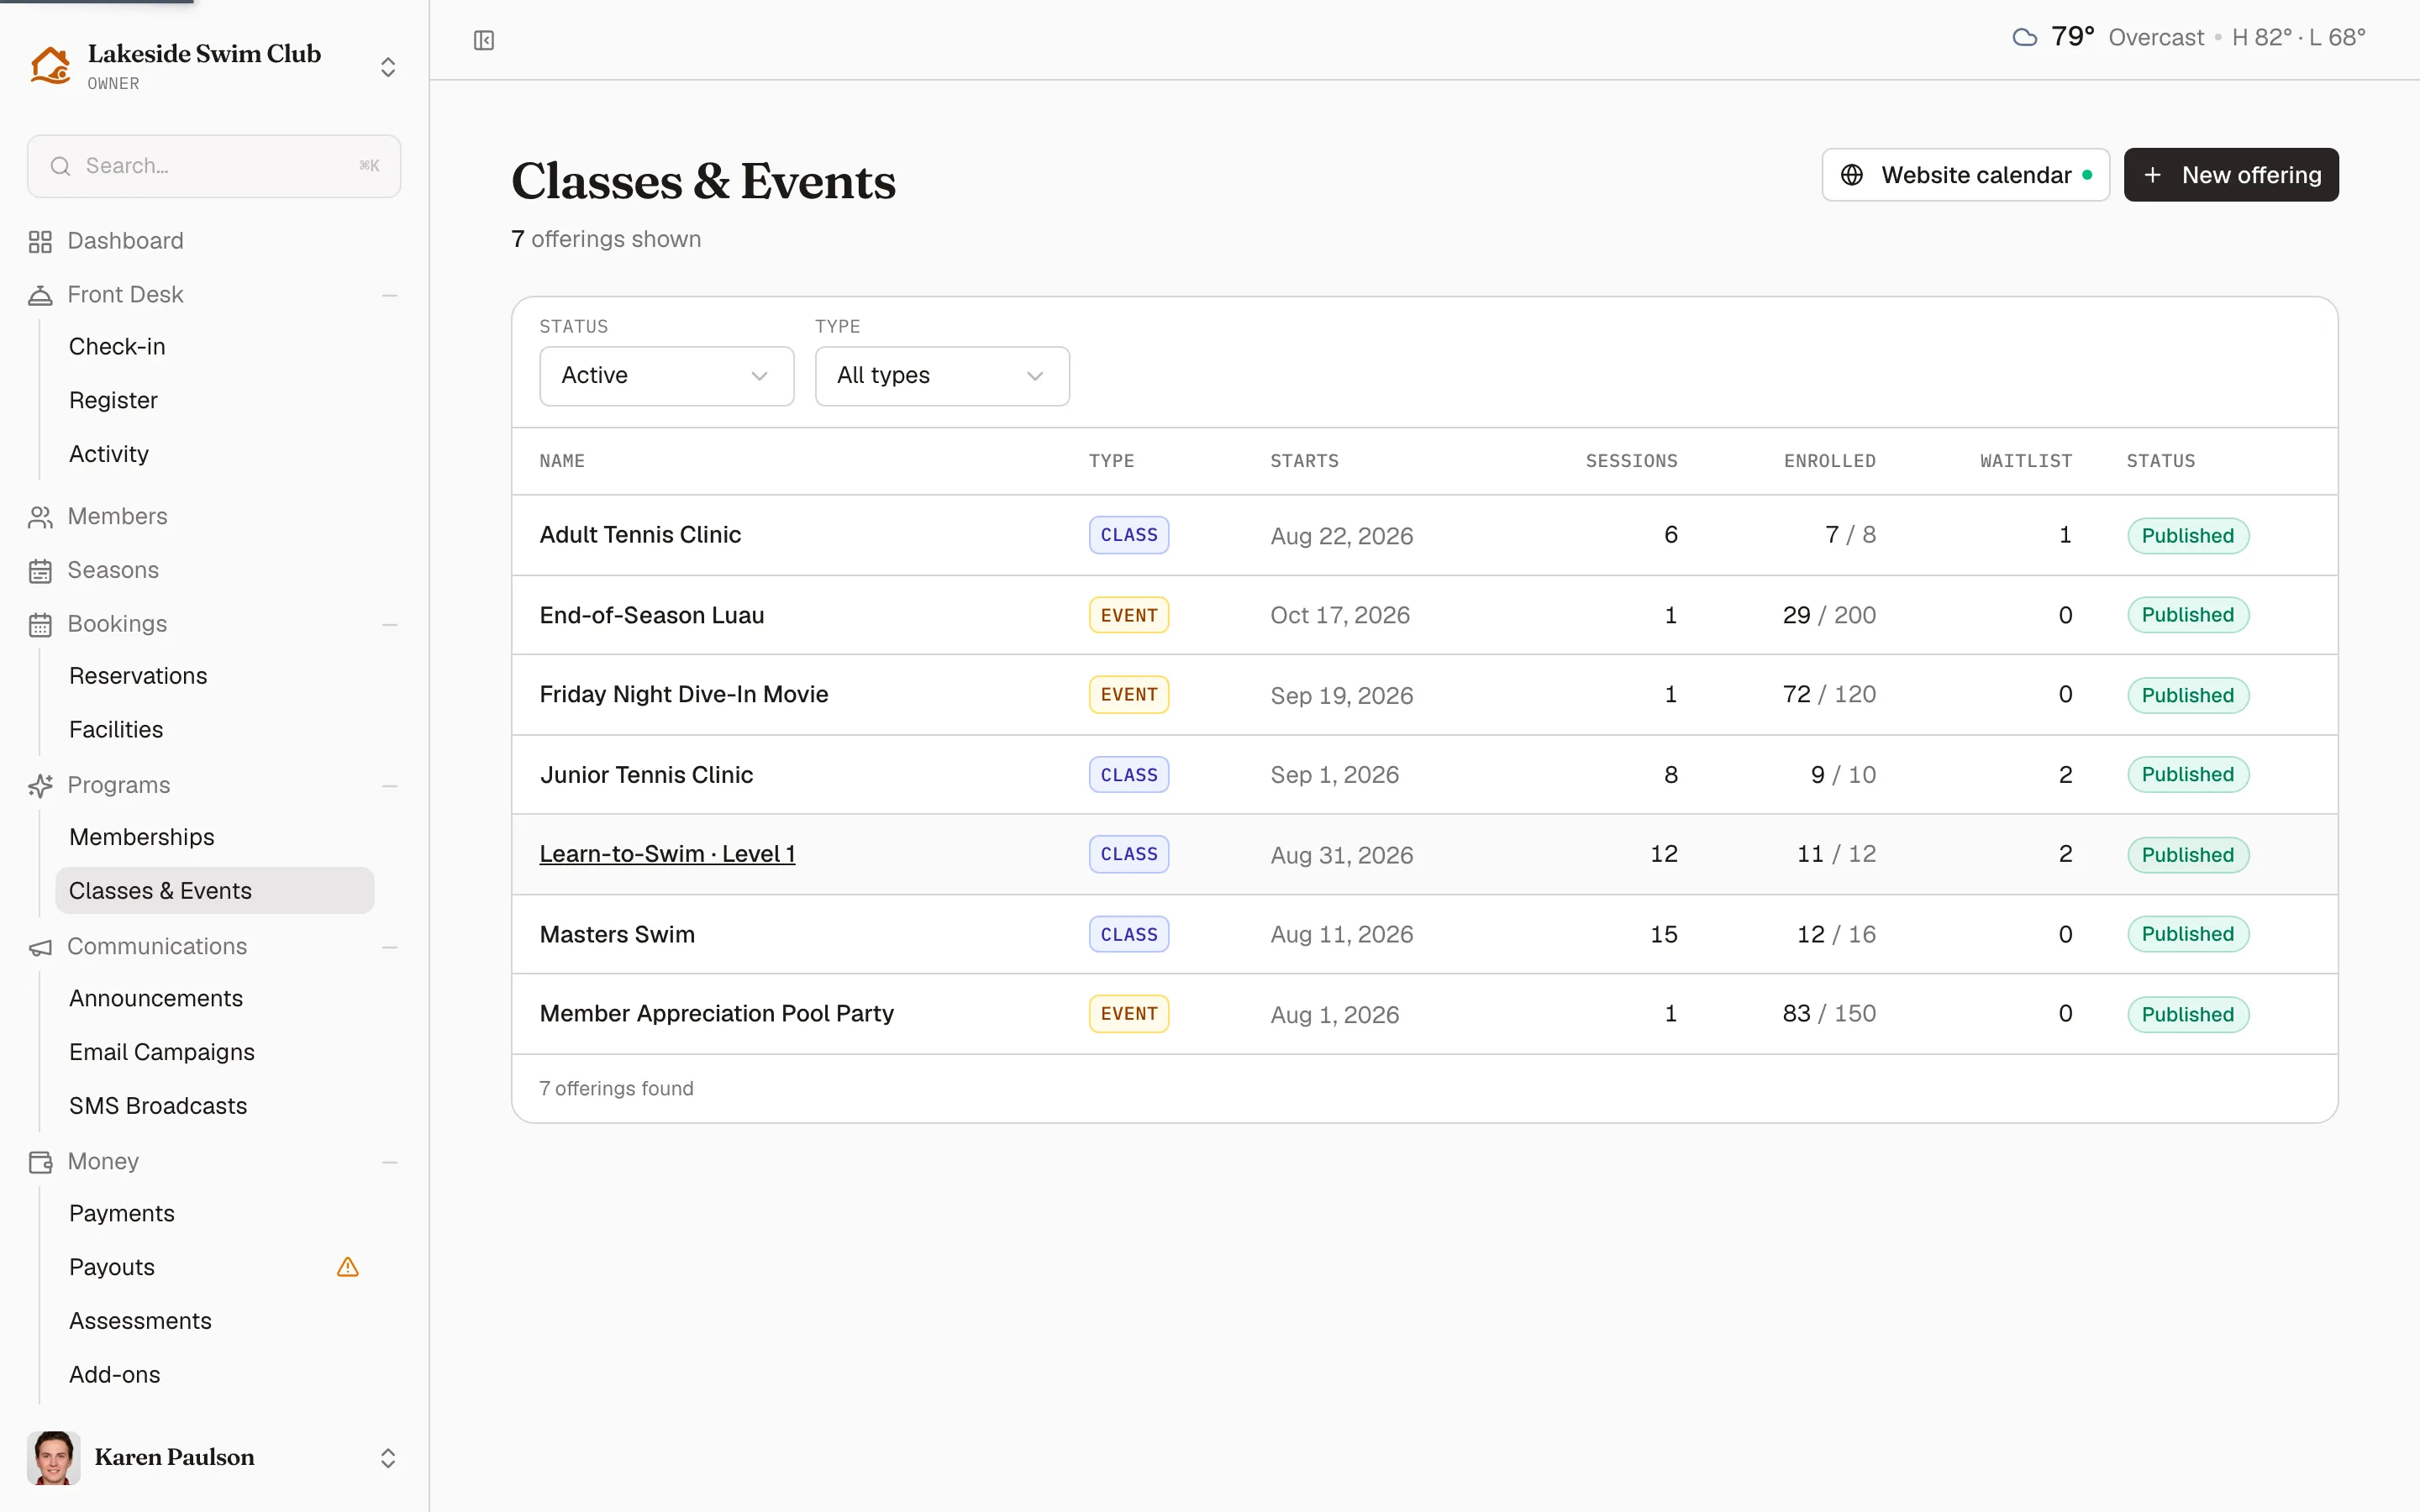
New offerings are created as drafts — members can’t see them yet. Open the offering, add sessions, then publish it from the Edit drawer. Filter the list by Status (Active, Archived, Cancelled, All) and Type.
Pricing, capacity, and who can enroll
Section titled “Pricing, capacity, and who can enroll”- Price — what non-members pay. $0 makes it free.
- Member price — an optional lower price for active members; leave blank to charge everyone the regular price.
- Members only — hides the offering from the public page and requires an active membership to enroll. Everyone pays the regular price, so the member price field disappears.
- Capacity — the seat limit. Leave blank for unlimited. When full, new sign-ups join the offering’s waitlist.
- Min age / Max age — age-gates enrollment. A date of birth is required for the enrollee when either limit is set, so family members without a birthday on file can’t be enrolled until one is added. Account holders enrolling themselves aren’t age-checked — Memberley doesn’t collect adult birthdays.
- Track attendance — adds a per-session attendance sheet. See Enrollments, rosters & attendance.
Add sessions one at a time
Section titled “Add sessions one at a time”- On the offering page, click Add session.
- Pick Starts at and Ends at — the end time follows the start time to keep the session’s usual length.
- Optionally pick a Facility (it defaults to the offering’s facility).
- Under Notify enrollees of schedule change, choose Email and/or SMS.
- Click Add session.
Sessions show a live status — Scheduled, In progress, or Ended — based on the clock; nothing needs to be marked done.
Generate a session series
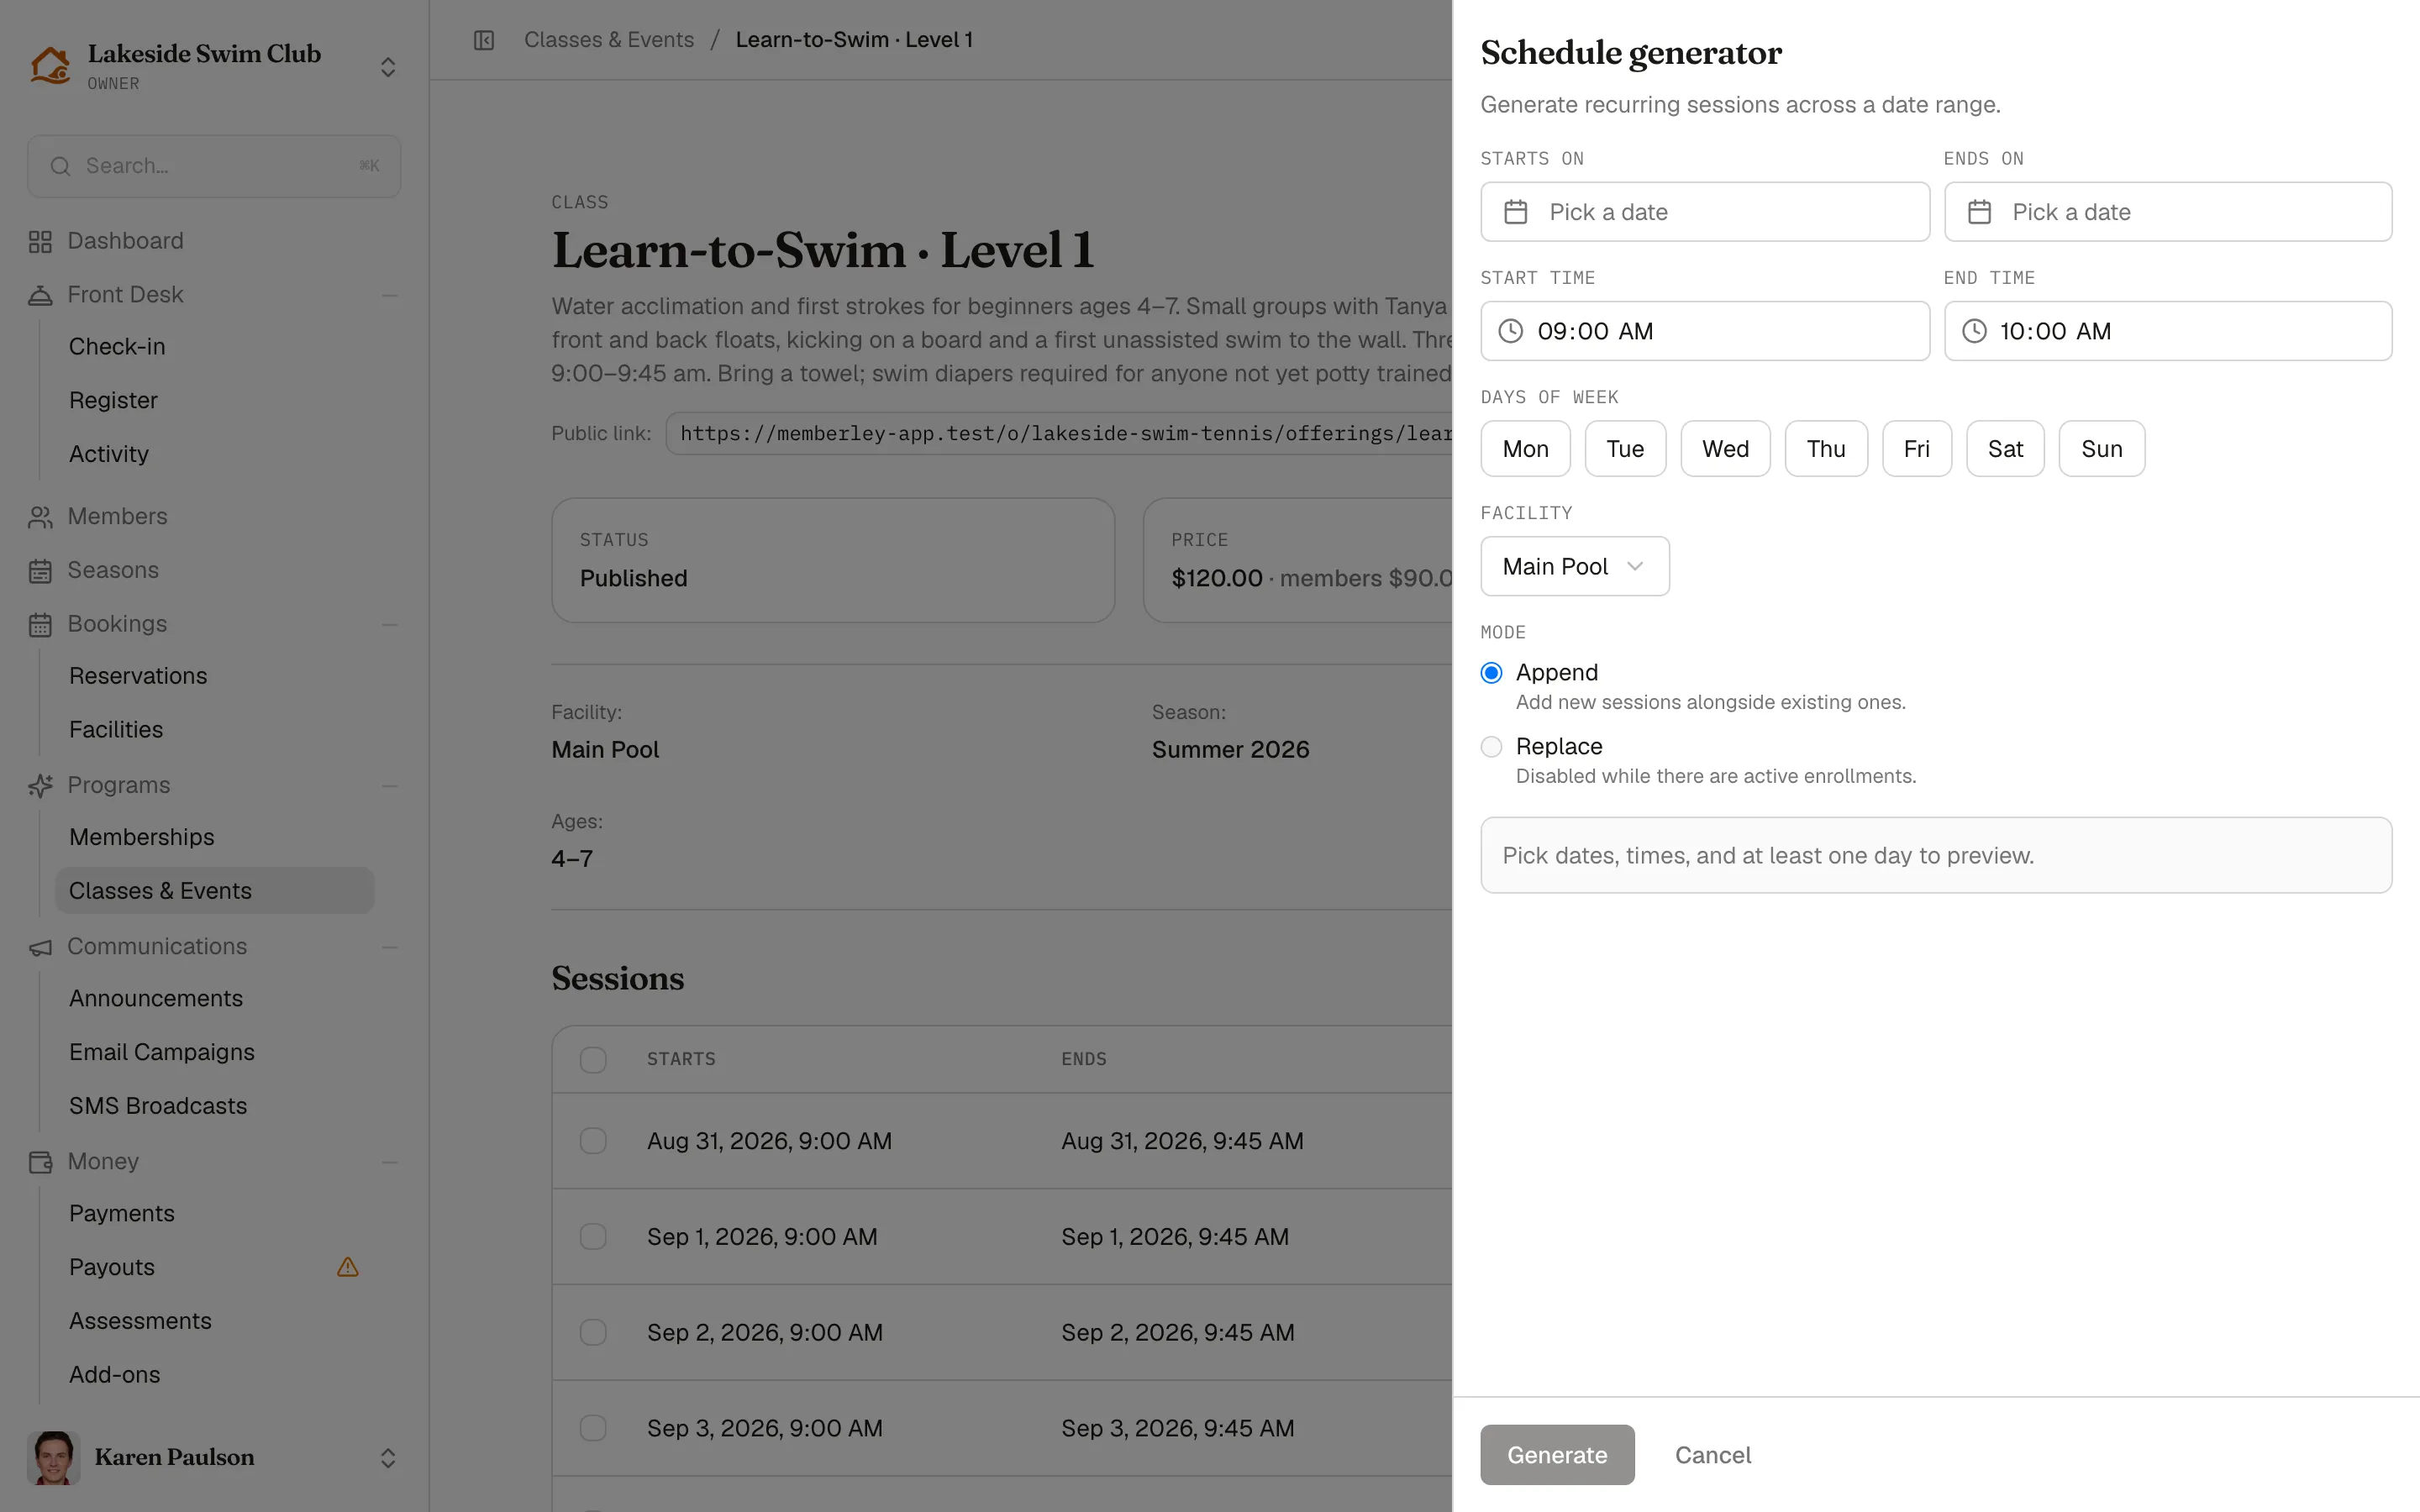
Section titled “Generate a session series”- Click Schedule generator.
- Pick Starts on and Ends on dates, Start time and End time, and the Days of week.
- Optionally pick a Facility.
- If sessions already exist, choose a Mode: Append adds alongside existing sessions; Replace deletes them first (disabled while there are active enrollments).
- Review the preview — it shows how many sessions will be created and the first few dates, and warns about sessions that overlap an existing facility booking or fall outside the registration window. Warnings don’t block generating.
- Click Generate.
Edit, cancel, or restore sessions
Section titled “Edit, cancel, or restore sessions”Each session row has a ⋯ menu with Edit, Cancel…, Restore (for cancelled sessions), and Delete. Cancelling asks for an optional Cancellation note (shown on the session row) and whether to notify enrollees by Email and/or SMS. Use the checkboxes to select several sessions and Cancel selected or Delete selected in one step. Deleting sessions is only available while the offering has no active or waitlisted enrollments.
Publish and open registration
Section titled “Publish and open registration”- Open the offering’s ⋯ menu and click Edit.
- Check Published (visible to members).
- Optionally set Registration opens and Registration closes to control the sign-up window.
- Click Save.
Once published (and not members-only), the offering page shows its Public link with a copy button — share it anywhere.
The public registration page
Section titled “The public registration page”The public link (/o/your-org/offerings/offering-name) shows the schedule, price, and remaining capacity to anyone:
- Visitors create an account as they register (name, email, password), or sign in to enroll in one click.
- The registrant can check I’m registering a family member to make a child or family member the enrollee. Date of birth is optional — unless the offering is age-gated, in which case it’s required to confirm eligibility.
- Any enrollment questions you’ve configured are asked on the form, and required ones must be answered before payment. Questions belong to the offering — add them on its page, and review every one you ask on the Class & event signups tab of Custom fields.
- Paid offerings collect payment through Stripe Checkout; free offerings enroll immediately.
- When the offering is full, the button becomes Join waitlist and no payment is collected until a seat opens.
Signed-in members can also browse published offerings inside the member portal under Classes & Events.
Archive or cancel an offering
Section titled “Archive or cancel an offering”Both live in the offering’s ⋯ menu:
- Archive hides the offering from members and pauses enrollment; you can Unarchive later. If it’s still published or has upcoming sessions, a confirmation appears with the option to Also delete the upcoming sessions (past sessions and attendance are kept, and enrollees are not notified).
- Cancel offering… cancels every active and waitlisted enrollment, with a checkbox to Refund paid enrollees via Stripe (uncheck to handle refunds manually).
- Delete permanently removes the offering, and is only available when there are no active or waitlisted enrollments.